
Shower Tile Installation: Waterproofing & Design Guide
Shower Tile Installation: Waterproofing & Design Guide
A beautiful, properly installed shower tile system is one of the most valuable upgrades a homeowner can make to their bathroom. But shower tile installation is fundamentally different from installing tile in dry areas like kitchens or living rooms. Water management, substrate integrity, and precise installation technique separate a shower that stays beautiful and dry from one that develops mold, leaks, and structural damage within a few years. At Doxa Flooring Inc, we have completed hundreds of shower tile installations across Tampa Bay, Sarasota, and Southwest Florida, and we understand that the most critical phase happens before a single tile is set.
Why Shower Tile Installation Requires Specialized Waterproofing
Shower environments expose tile installations to continuous moisture exposure and thermal cycling. Unlike a kitchen backsplash or bathroom floor, shower walls and niches experience direct water contact, steam saturation, and temperature fluctuations daily. Without proper waterproofing, water penetrates behind tiles and into the substrate, causing wood rot, mold growth, structural deterioration, and costly repairs that far exceed the original installation investment.
The key difference between a professional installation and a DIY job is that professionals understand water management as a system, not just a single material. Waterproofing begins with substrate selection and preparation, continues through membrane installation, and extends into grout and sealant choice. Every layer must work together to prevent water intrusion. This is why building code in Florida requires specific waterproofing practices for wet areas, and why hiring a certified tile contractor matters for your home's long-term protection.
Substrate Preparation: The Foundation of Waterproof Showers
Before any tile touches a shower wall, the substrate must be properly prepared and moisture-resistant. The best practice substrate for shower walls is cement board or, better yet, waterproof backer board (like Wedi or Schluter), which combines dimensional stability with integrated waterproofing. Gypsum drywall is never acceptable in wet areas; it absorbs moisture and fails rapidly.
Installation begins with framing inspection to confirm studs are straight and spaced correctly. Next, all framing connections must be secure and free of movement, as any flex in the wall will crack grout and tiles over time. Once framing is solid, we install waterproof backer board, fastening it per manufacturer specs and sealing all seams with waterproof mesh tape and alkali-resistant joint compound. For complex shower areas with niches or changes in direction, this step requires precision and experience to ensure every edge is sealed and no water pathway exists to reach wood studs behind.
Waterproofing Membranes: Protection Layers That Count
After backer board is installed and sealed, the next critical layer is the waterproofing membrane. This is not optional; it is the primary defense against water reaching the substrate and framing. Two main types are available: liquid-applied membranes and sheet membranes. Liquid-applied membranes (like RedGard or Aqua Defense) are applied with a roller in multiple coats, creating a seamless, flexible barrier. Sheet membranes (like Schluter Kerdi or Wedi Vertigo) are prefabricated sheets adhered over the substrate, with all seams sealed using specialty tape.
For most residential shower installations, a quality liquid membrane is sufficient and more cost-effective, while sheet membranes are ideal for high-end custom showers or steam showers requiring maximum protection. Regardless of type, the membrane must extend from the shower pan at least 6 inches up the walls and continue up 12 inches on the wall opposite the shower opening to catch any splash-back water. All penetrations, corners, and transitions must be sealed or treated per the membrane manufacturer's specifications. A rushed or incomplete waterproofing application is a common root cause of post-installation water damage, which is why we allocate dedicated time and attention to this phase at Doxa.
Tile Selection and Grout Strategy for Lasting Beauty
Once waterproofing is complete, tile selection and installation can begin. In shower environments, porcelain tile is the preferred choice over ceramic because it is less porous, more durable, and better resists moisture absorption. Larger format tiles (12x24 or even 18x36) reduce the number of grout lines and therefore reduce potential water entry points; however, larger tiles require flatter substrate and more precise installation. For shower floors, non-slip or textured porcelain is essential for safety.
Grout selection is equally critical. Epoxy or urethane grout is superior to standard cement grout in wet areas because it is non-porous and resists mold and mildew growth. While epoxy grout is more difficult to apply and less forgiving than cement grout, the longevity and water resistance benefits justify the extra effort and cost. We always recommend epoxy or premium urethane grout for shower installations, sealed with a high-quality grout sealer for additional protection.
Common Mistakes That Lead to Shower Tile Failure
Many homeowners or inexperienced contractors make costly errors during shower tile installation that lead to failure within 2-3 years. Skipping or rushing the waterproofing phase is the most common mistake. Others include using drywall instead of moisture-resistant backer board, applying inadequate or one-directional waterproofing, failing to seal grout lines, using ceramic tile on shower floors, or selecting low-quality grout that absorbs water and encourages mold. Each of these shortcuts saves a few hundred dollars during installation but costs thousands in repairs and remediation later.
Another frequent issue is improper slope or drainage in the shower pan. Water must flow toward the drain; any flat or backward-sloping area will collect standing water, which eventually penetrates the waterproofing. Installing the pan with the correct slope and verifying drainage during the installation process is non-negotiable. This is technical work that requires experience and precision, which is why shower tile installation should never be delegated to inexperienced labor.
Design Ideas and Finishes That Elevate Your Shower
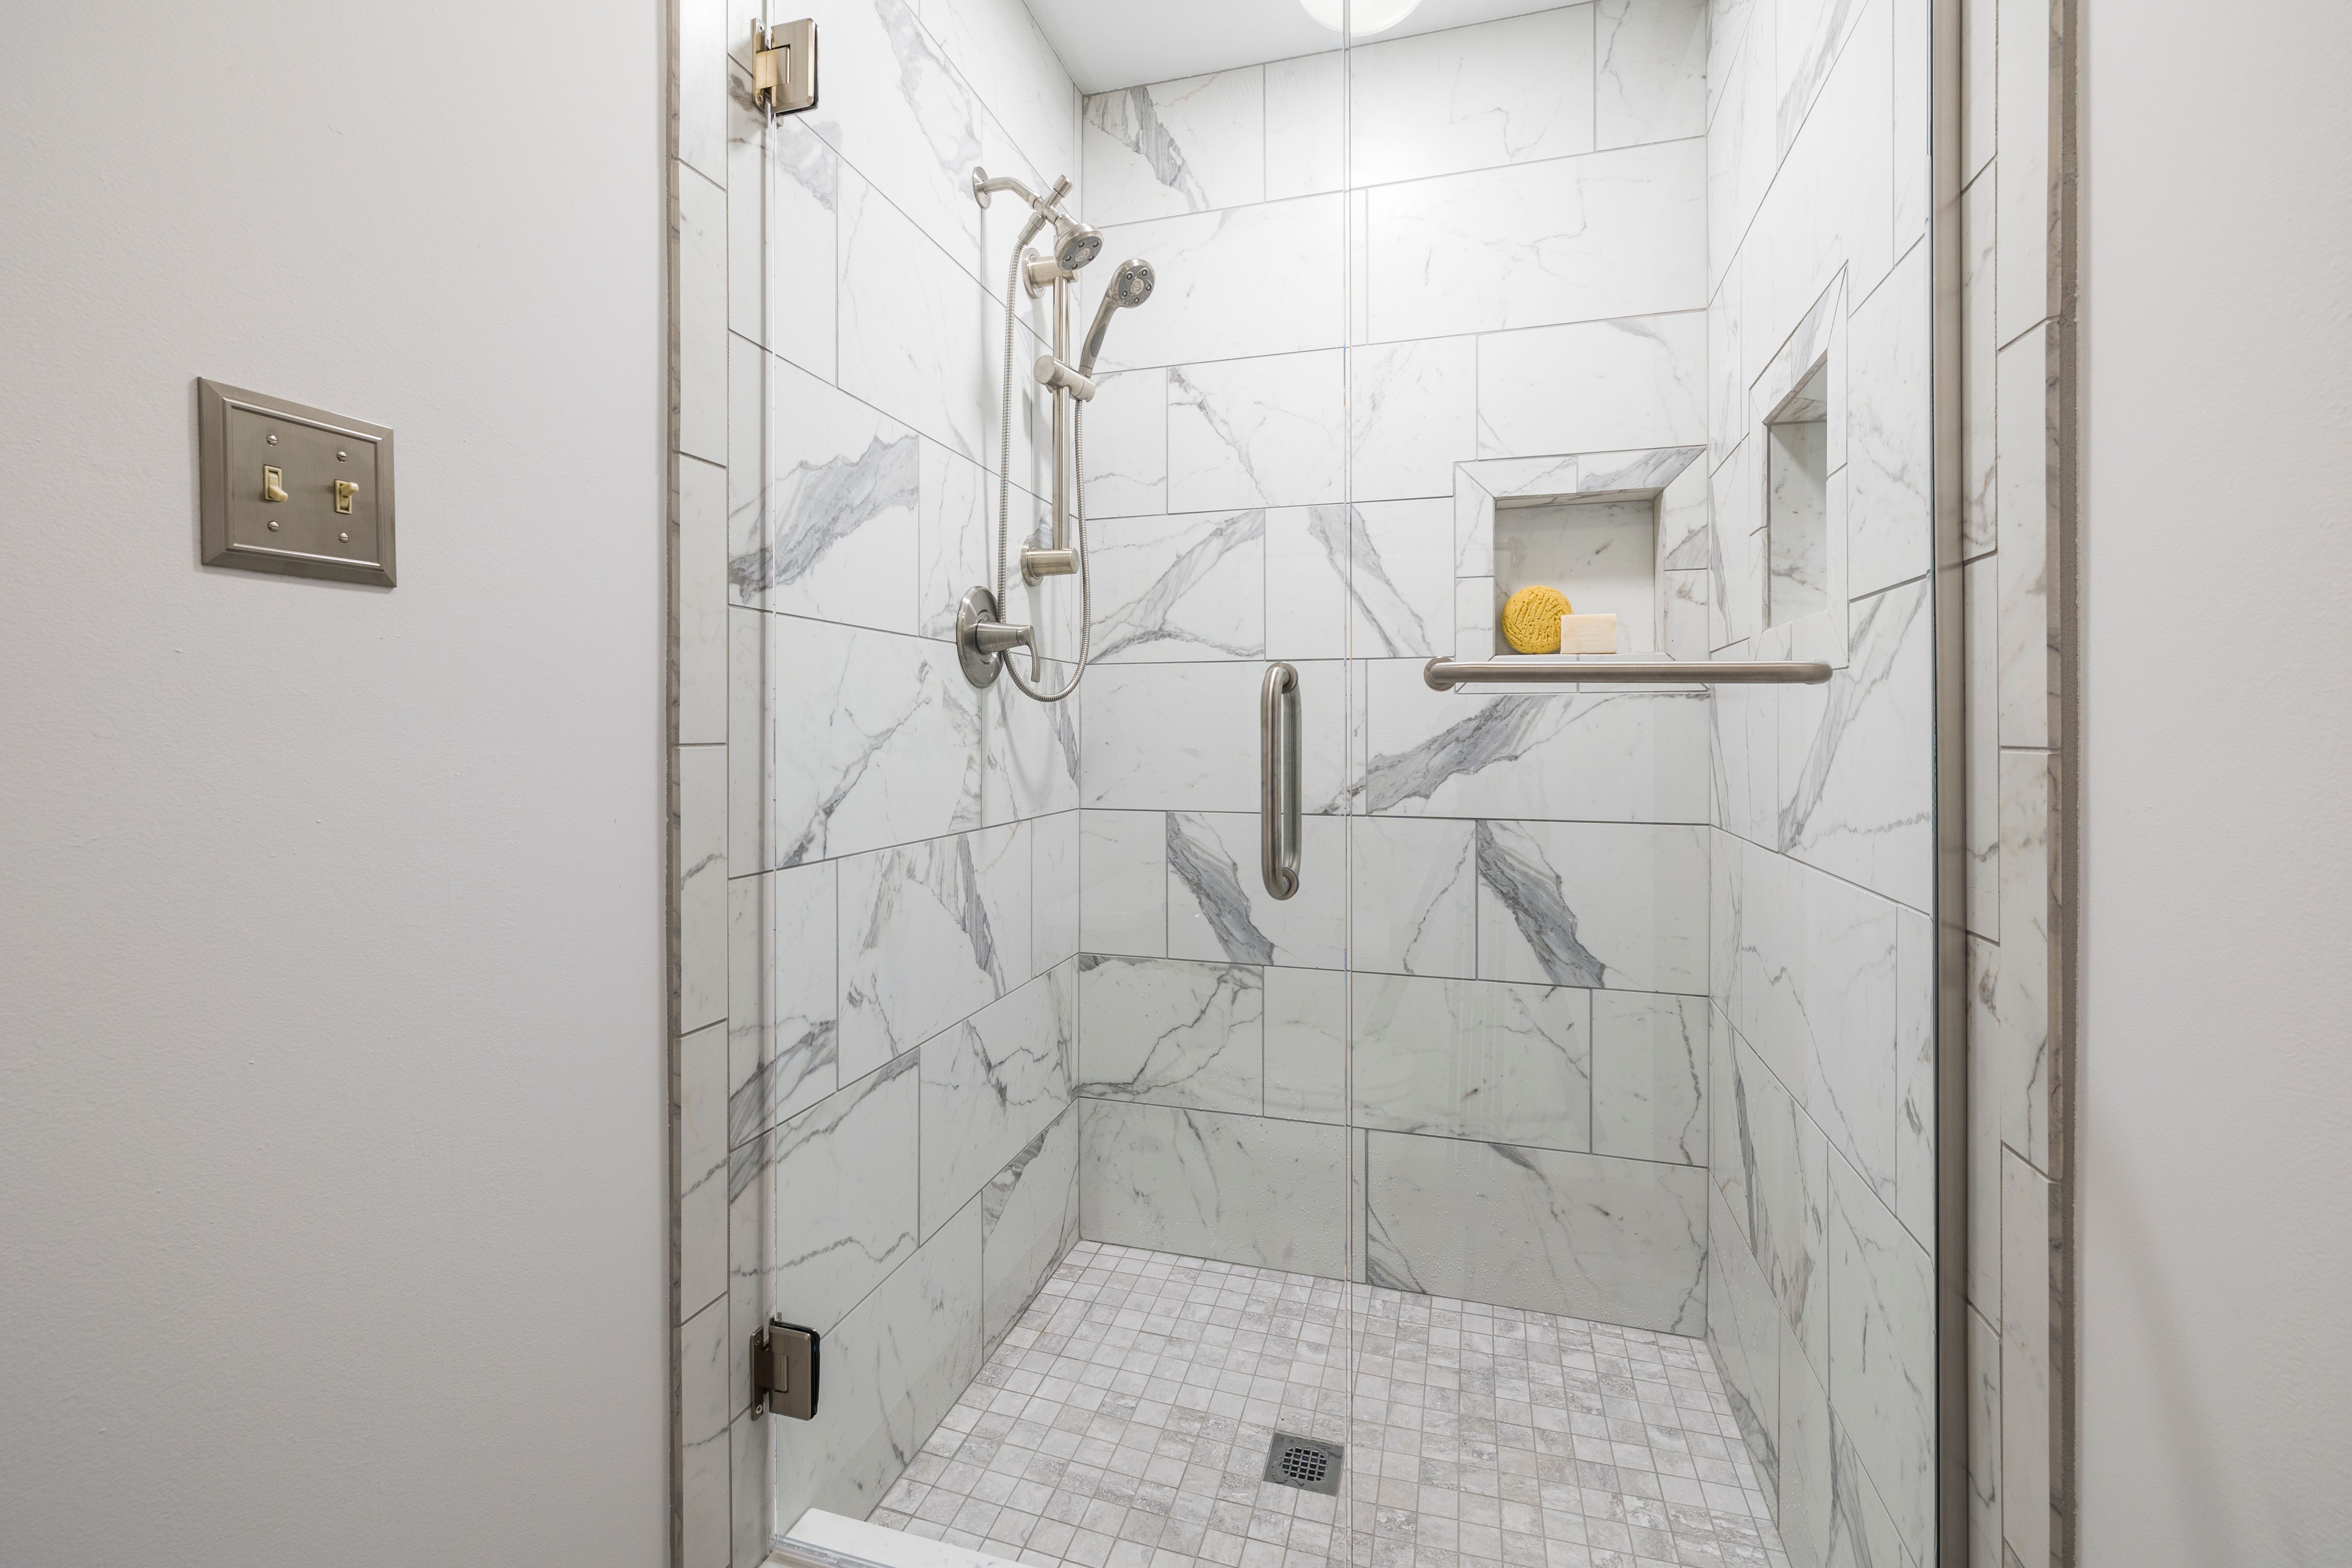
Beyond function, shower tile installation is an opportunity to create a spa-like aesthetic that makes your daily routine feel luxurious. Subway tile in soft whites or grays offers timeless elegance and is easy to keep clean. Larger format tiles in natural stone or stone-look porcelain create a seamless, high-end appearance. Accent tiles, feature strips, or mosaic details can add visual interest without overwhelming the space. Walk-in showers with frameless glass enclosures show off tile work beautifully and require careful attention to tile layout and grout line symmetry for a polished final result.
Textural variety is also popular: combining smooth-glazed walls with textured non-slip flooring, or mixing matte and glossy finishes, creates dimension and visual appeal. Lighting also plays a role; neutral warm lighting highlights natural stone tones, while cooler lighting suits modern gray or blue palettes. Our team at Doxa has installed hundreds of shower designs across Tampa Bay and Southwest Florida, and we love helping homeowners bring their vision to life while ensuring every installation is bulletproof against moisture intrusion.
Maintenance and Long-Term Care for Shower Tiles
Even the best installed shower tile system requires proper maintenance to stay beautiful and functional for decades. Grout sealer should be reapplied every 1-3 years, depending on usage and water hardness. Regular cleaning with a mildew-resistant cleaner prevents mold and discoloration. Ventilation is critical; run your exhaust fan during and for 30 minutes after each shower to remove moisture and prevent mold growth on tile and grout. Check caulk around shower edges annually and recaulk if it shows signs of cracking or separation.
If any tile cracks or grout lines develop gaps, address them immediately to prevent water intrusion. The beauty of professional shower tile installation is that it is designed to last 20-30+ years with minimal maintenance. However, that longevity depends on proper initial installation by qualified professionals and ongoing care by the homeowner. At Doxa Flooring Inc, we stand behind our work with transparent warranties and are always available to answer questions about maintenance and care.
Ready to upgrade your bathroom with a stunning, waterproof shower tile installation? Contact Doxa Flooring Inc today for a consultation. Our team serves Bradenton, Tampa, Sarasota, Fort Myers, and throughout Southwest Florida. We combine expert waterproofing knowledge, quality materials, and meticulous craftsmanship to create shower systems that are as beautiful as they are durable. Call us or visit our website to request your free estimate and discover why homeowners across the Tampa Bay area trust Doxa for their most important bathroom projects.